Getting Started
This is a step-by-step guide to starting your first pentest.
Prerequisites
- Create an account
- Install Docker
Step 1 — Start the Shell Server
The Docker Shell Server is a virtualized Linux runtime with bundled penetration testing tools. Sable connects to this server to run assessments.
Linux (recommended)
Launch the Shell Server with host networking:
docker run --rm --network host --pull always --user root ghcr.io/vulnetic-inc/shell-container
macOS (Docker Desktop)
Launch the Shell Server with port mapping:
docker run --rm -p 8001:8001 --pull always --user root ghcr.io/vulnetic-inc/shell-container
Windows (Docker Desktop or WSL)
Launch the Shell Server with port mapping:
docker run --rm -p 8001:8001 --pull always --user root ghcr.io/vulnetic-inc/shell-container
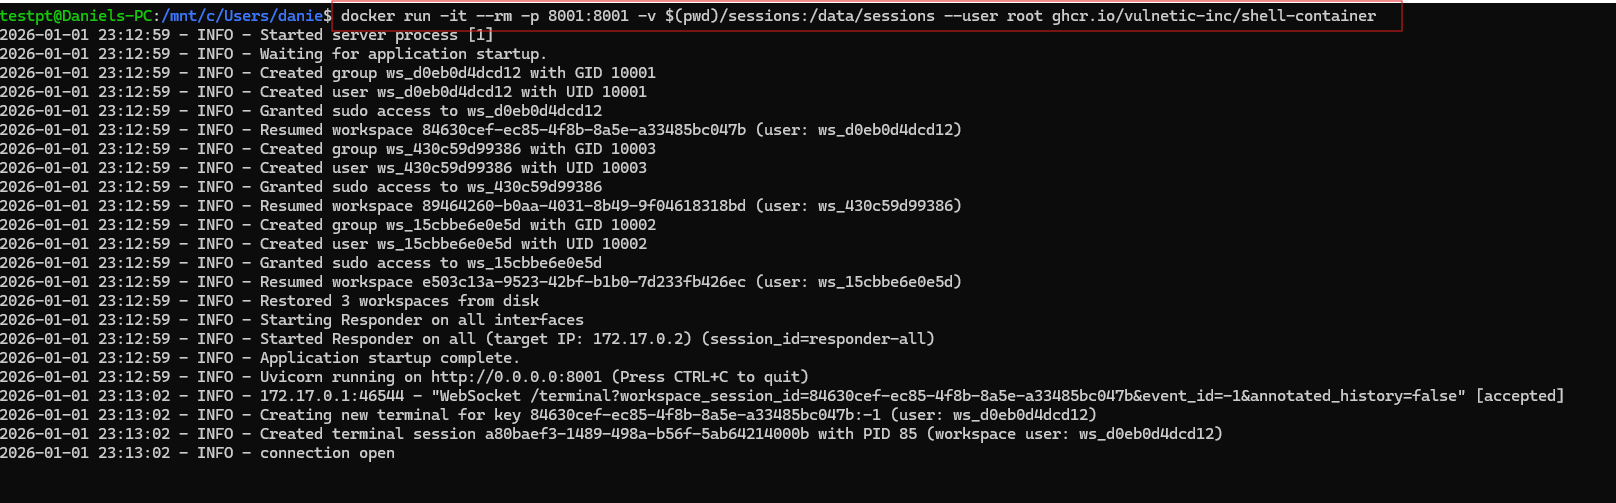
Expected logs:
INFO: Started server process [1]
INFO: Waiting for application startup.
INFO: Application startup complete.
INFO: Uvicorn running on http://0.0.0.0:8001 (Press CTRL+C to quit)
Persist your session data
Use -v $(pwd)/sessions:/data/sessions and your session data will remain in ./sessions.
Linux/macOS/PowerShell:
docker run -it --rm -p 8001:8001 -v $(pwd)/sessions:/data/sessions --user root ghcr.io/vulnetic-inc/shell-container
Windows CMD:
docker run -it --rm -p 8001:8001 -v %cd%/sessions:/data/sessions --user root ghcr.io/vulnetic-inc/shell-container
Once running, the app will show the shell server is connected on your profile/dashboard page.

Having issues? See Shell Server Troubleshooting.
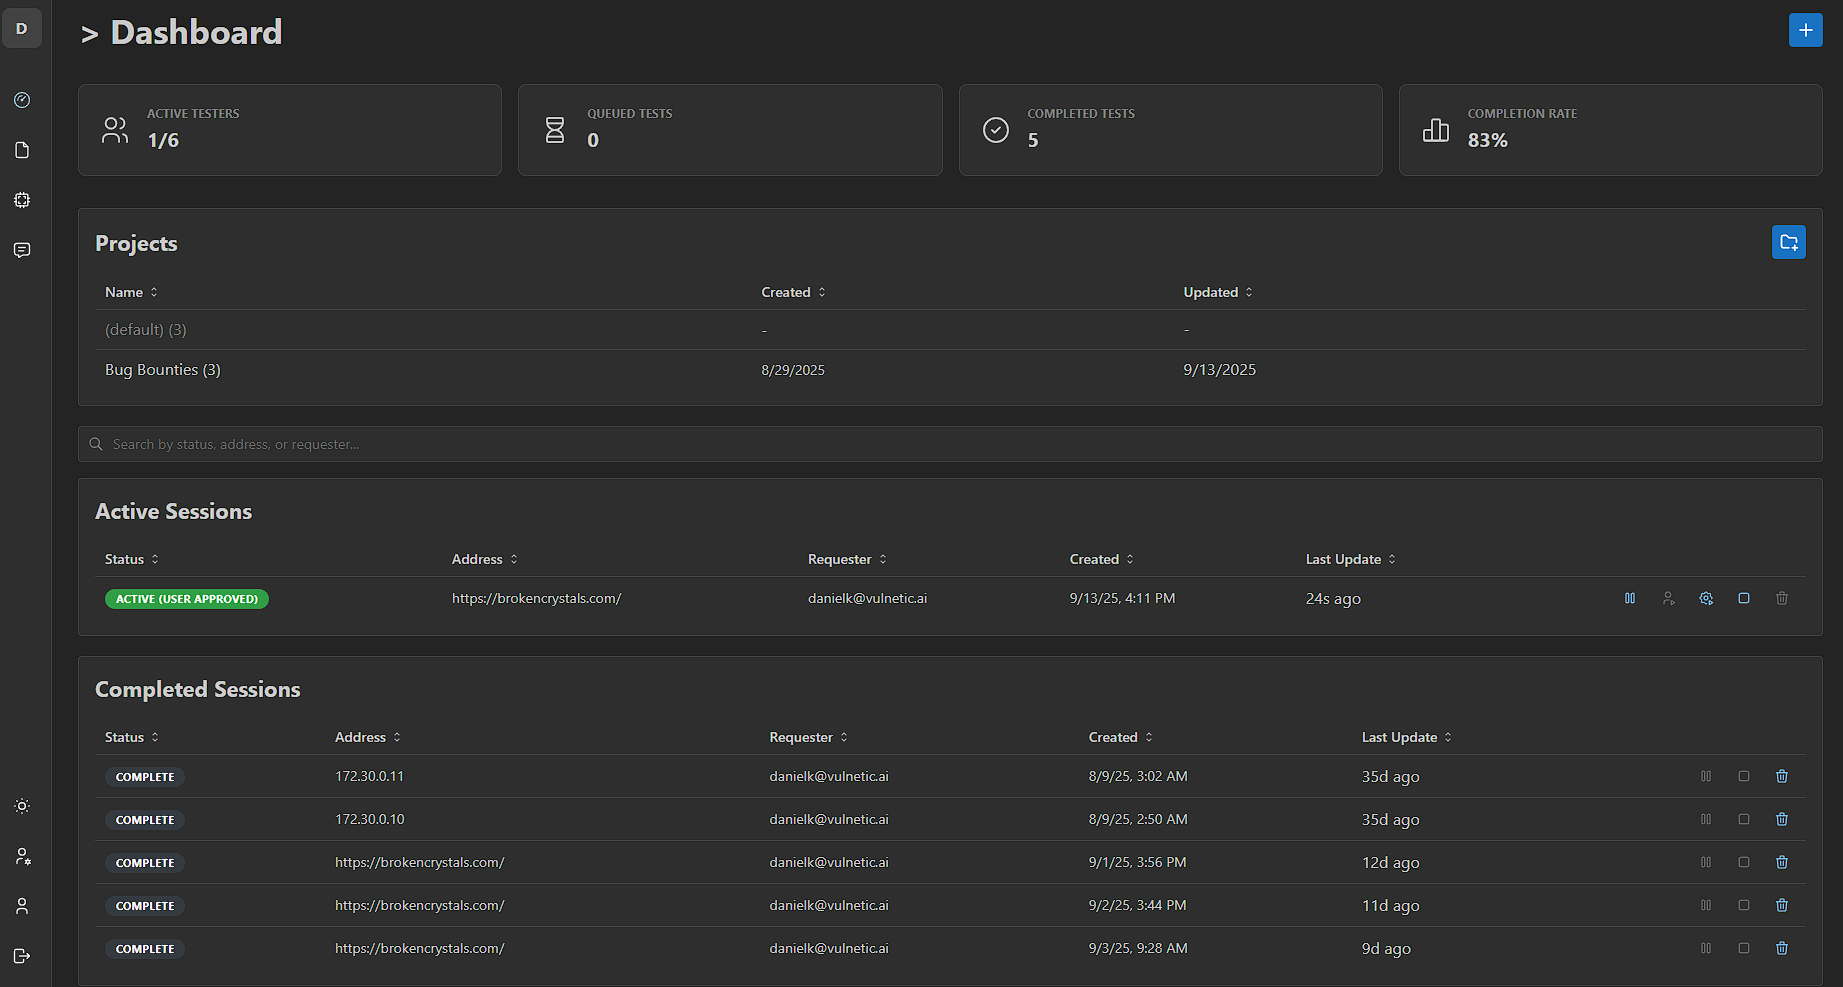
Step 2 — Open the Dashboard
From your Profile page, click the top sidebar icon to navigate to the Dashboard, this is where you will manage and create assessments. The Dashboard is where assessments are managed, started, and stored, and where you can sort them into project folders.
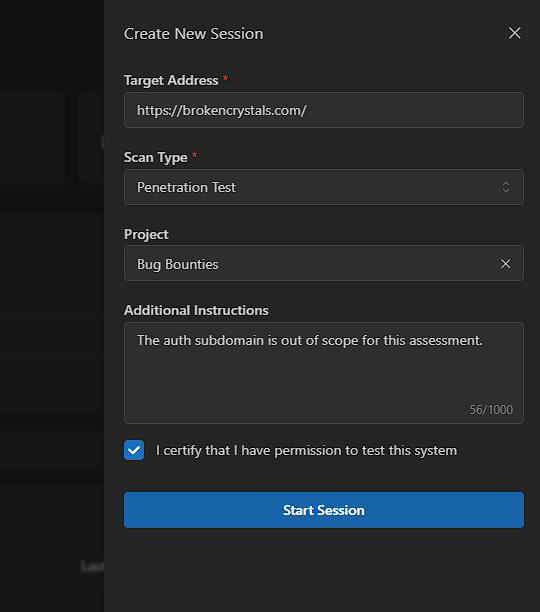
Step 3 — Configure the assessment
-
Click "+" icon in the top-right corner of the Dashboard.
-
Enter Target Address. This can be a website URL, IP address, IP subnet, or any other endpoint reachable from your computer.
-
Assign Project folder (optional)
-
Add Additional Instructions.Outline what the model should know, such as Credentials, Out‑of‑scope subdomains/endpoints, or any other special requirements.
-
Press Start Session to begin.
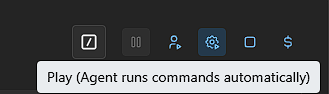
Step 4 — Choose autonomy mode
- Autonomous mode — Sable generates all tasks and commands and executes them end‑to‑end until the assessment completes.
- User‑approve mode — You review and approve every command before it runs. This gives full human‑in‑the‑loop control over each step.


- Toggle anytime — You can easily switch between Autonomous and User‑approve modes throughout the assessment.
Troubleshooting
See Shell Server Troubleshooting or Browser Session Conflict. If you're blocked, contact support at info@vulnetic.ai or reach out to CEO Daniel Knight at danielk@vulnetic.ai.